
PCN Swap Manual
• Adding TronLink Chrome Extension
You need to have a Chrome browser installed on your operating system in order to use the TronLink wallet
on your computer.
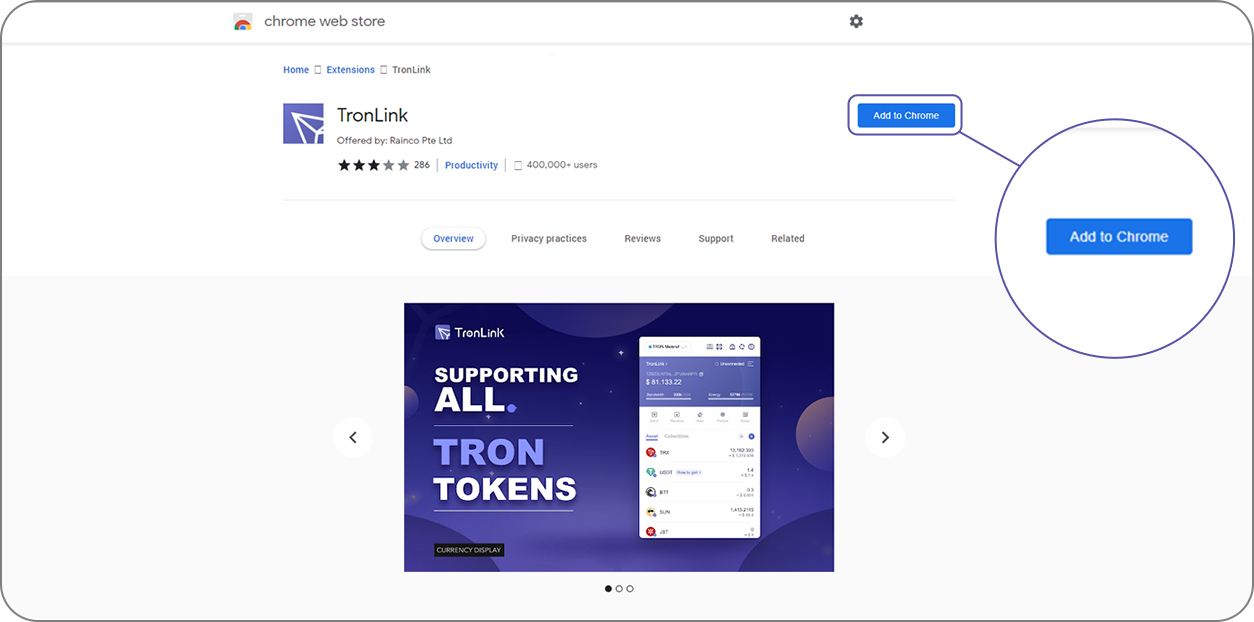
- Please copy the following link and paste it into the address bar of your Chrome browser:
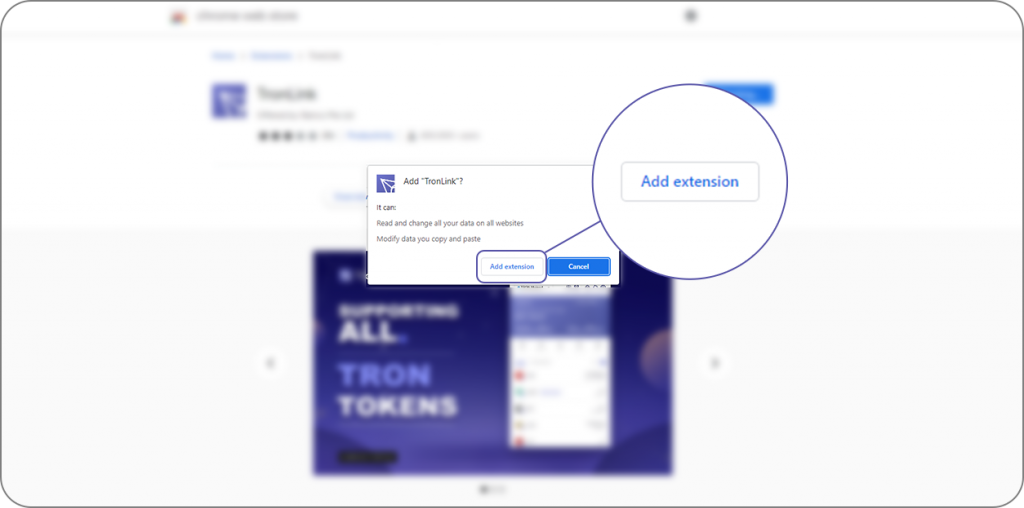
https://chrome.google.com/webstore/detail/tronlink/ibnejdfjmmkpcnlpebklmnkoeoihofec - After opening the link, click on ‘Add to Chrome’ and select ‘Add extension’ in the pop-up window.
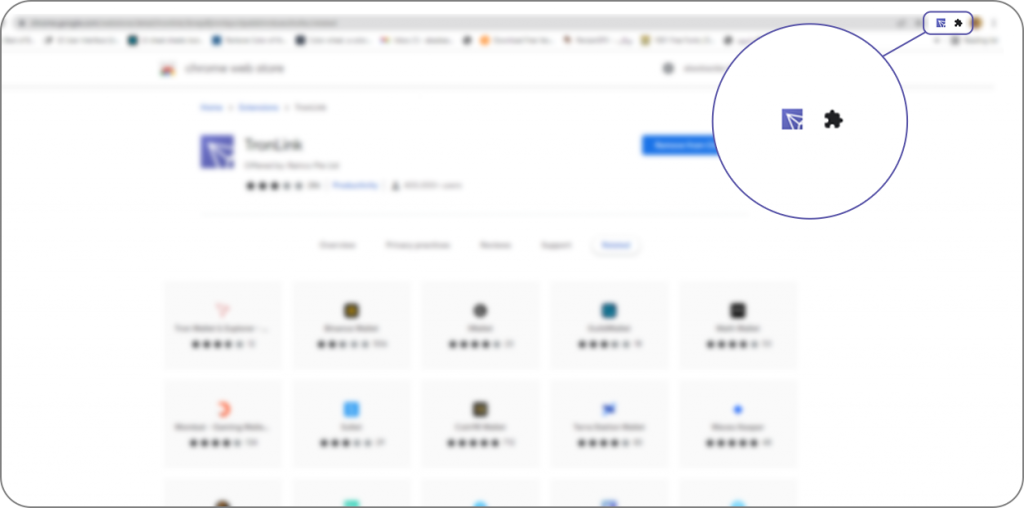
After installation, a purple icon will show up under ‘extensions’ in the upper right corner of your browser.
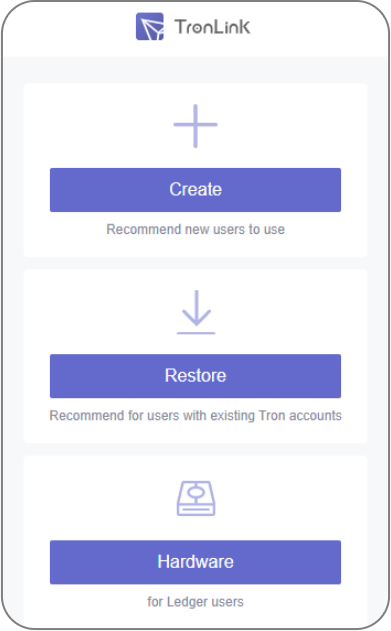
- Click on the extension to open it. Now you have two options to choose from. If you are using TronLink
for the first time, select ‘Create Wallet,’ and if you have previously installed the TronLink App on your
cell phone, select ‘Import Wallet.’ We suppose that you are using the wallet for the first time.
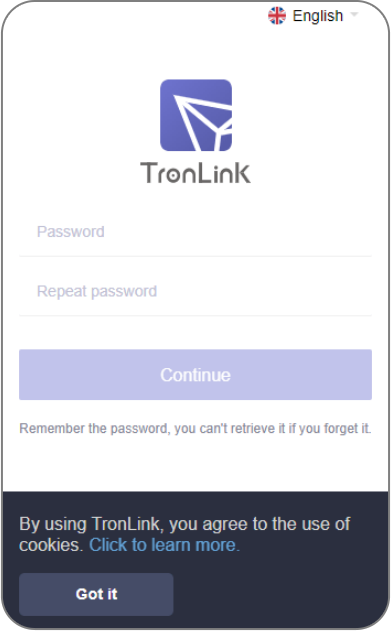
- Click on ‘Create Wallet’ and scroll down the User Agreement terms until the ‘I agree, no more
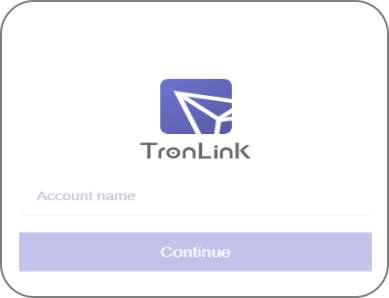
reminders’ icon is activated, and then select the button. - On the following page, you must type in a name for your wallet and encrypt it with a strong password
that meets the required standards. After inserting the required information, select ‘Create Wallet.’
- Then, you are required to enter your password again to access the wallet.
- Select ‘Back up Wallet’ as you open the wallet.
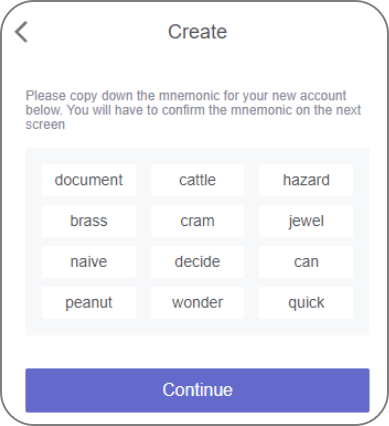
- Click on ‘View Mnemonic Phrase’ to see your seeds (recovery words). A list of twelve words then
appears on the screen. These words are the only way to recover your wallet or import it on another
device. We strongly recommend that you write them down IN THE SAME ORDER AS DISPLAYED on a
piece of paper and keep it somewhere secure. Taking screenshots is not recommended as it makes
your mnemonic phrase susceptible to attackers. Please note that anyone who has access to your
mnemonic phrase has access to your wallet and that TronLink will not store the phrase, so if you lose
it, your wallet’s assets are effectively irrecoverable. Thus, please DO NOT SHARE THE RECOVERY
WORDS WITH ANYONE AND DO NOT LOSE THEM.
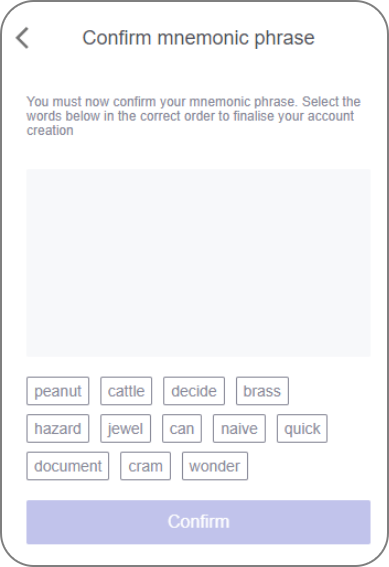
- In the next step, the wallet checks if you have backed up the keys in the correct order and randomly
asks you to select three keys based on the order in three steps or requires you to reenter the keys
with the correct order.
- After confirming the backup, your wallet is successfully installed and ready to use. As you can see, a
list of popular cryptocurrencies that are transferable on the Tron blockchain and supported by the
TronLink wallet will appear on the screen. The supported cryptocurrencies include Tron (TRX),
BitTorrent Token (BTT), USD Tether (USDT), USD Just (USDJ), StorX (SRX), Tronipay (TRP), etc.
• Adding PCN to Sunswap
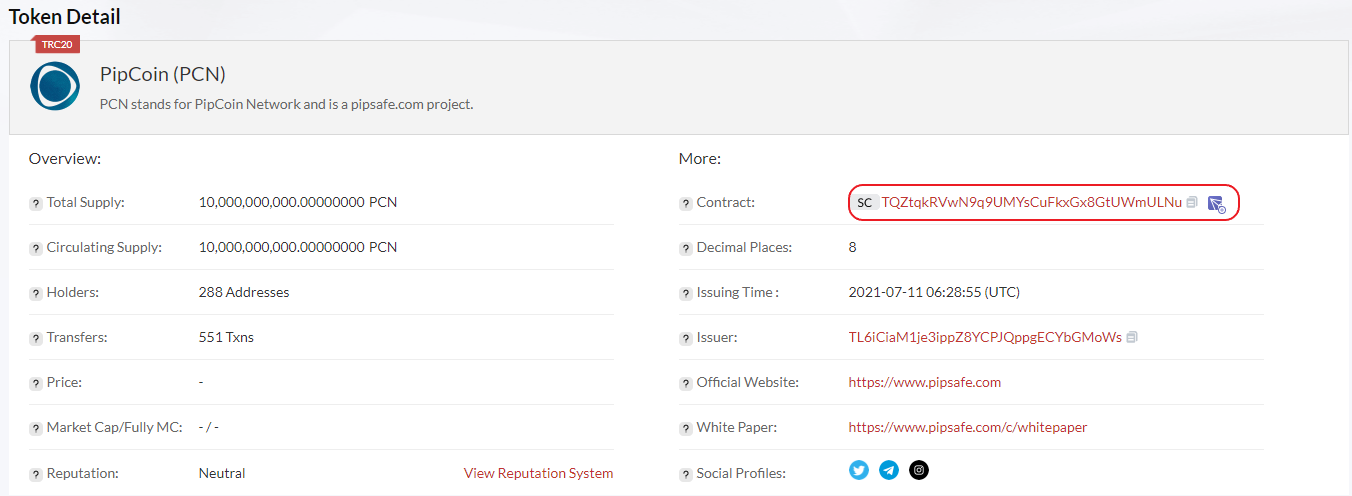
- Open the Chrome browser, go to www.tronscan.org and enter PCN in the search bar.
- Select ‘PipCoin (PCN)’ to open the token’s description page.

- Select and copy the token’s contract address (you can click on the little icon in front of the address to
copy it).
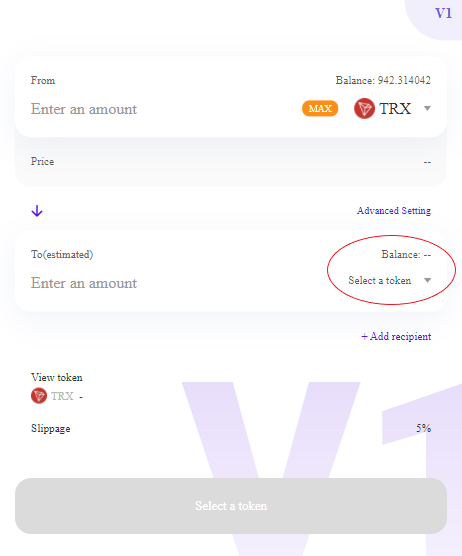
- Go to www.sunswap.com. The webpage shows a ‘Swap’ box with two blanks fields: the first field is
‘From,’ which is set on TRX by default, and the second is ‘To,’ which you have to set to PCN. - Click on ‘Select a token’ and paste the contract address into the search bar on the right side of the
second blank space.
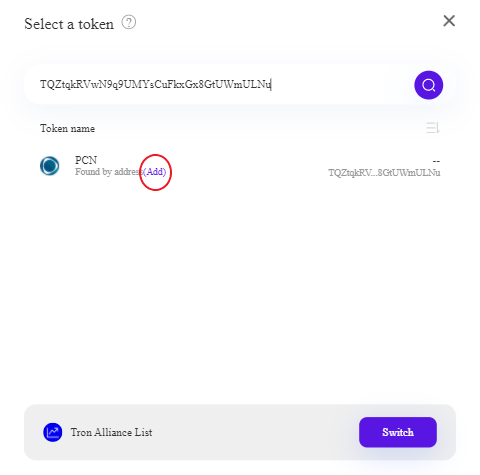
- After you pasted the address, you can see the PCN token. Click on the ‘Add’ button and click on the
PCN icon. You can now swap the token.
• Trading PCN on Sunswap
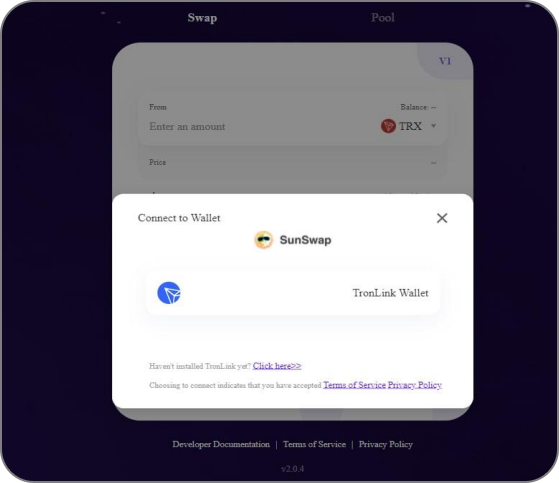
- Using Chrome, go to www.sunswap.org and click on the ‘Connect to Wallet’ link.
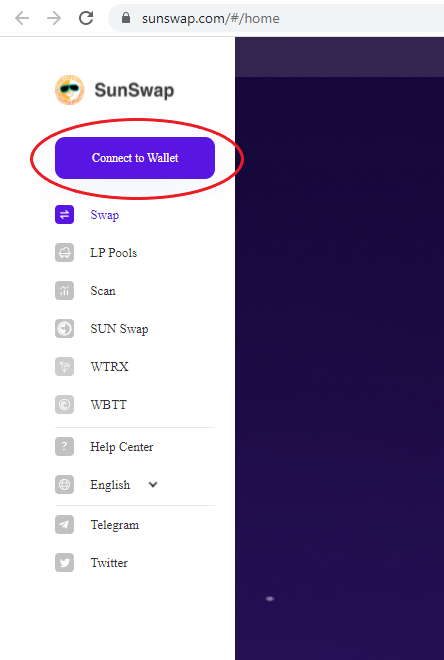
- In the following pop-up window, you can see the TronLink wallet you previously added to Chrome.
Click on the TronLink icon to connect it to the Sunswap exchange.
• Swap PCN for TRX
- In your Chrome browser, go to www.sunswap.com.
- In the ‘Swap’ box, click on the TRX icon on the right side of the first blank field (From) and change it to
PCN. - On the right side of the second bank field (To), click on ‘Select a token’ and select TRX.
- Enter the amount of PCN you want to swap for TRX in the first field, and the estimated TRX value will
appear automatically in the second field. - Select the ‘Swap’ icon to proceed to the next step.
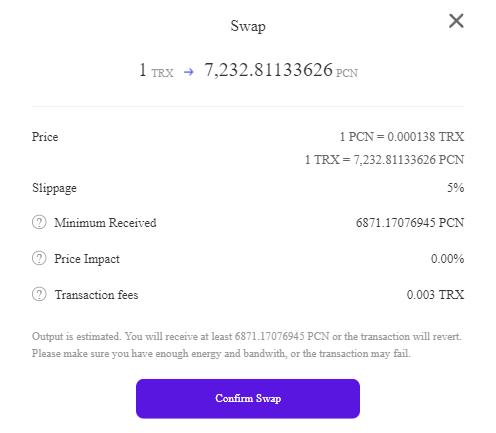
6-On the next page, you can see your transaction details. Select ‘Confirm Swap’ to proceed.
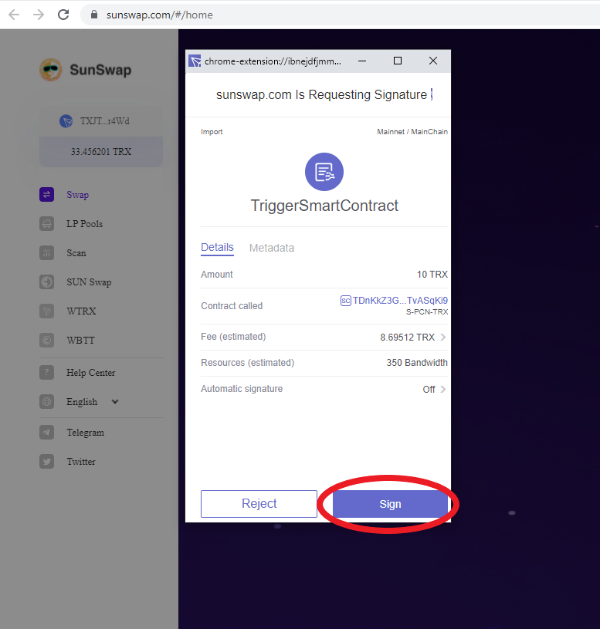
- Finally, a ‘Request Signature’ window (linked to your TronLink wallet) pops up. Press ‘Sign’ and wait
for a few seconds for another smaller pop-up window to appear, saying that your transaction has
been submitted.
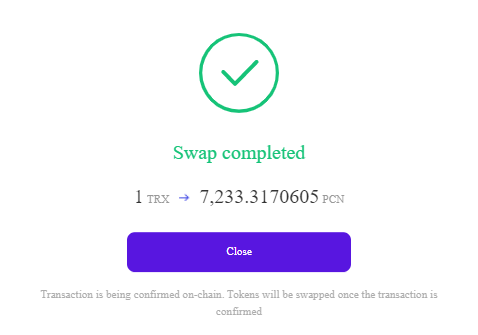
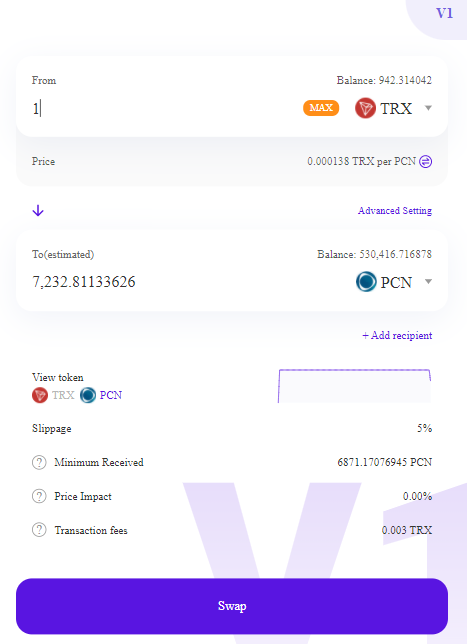
• Swap TRX for PCN
To change your TRX to PCN, set the ‘From’ field to ‘TRX’ and enter the desired amount. Then set the ‘To’
field to PCN and select ‘Swap,’ confirm the transaction and select ‘Sign’ on the pop-up window to complete
the transaction.
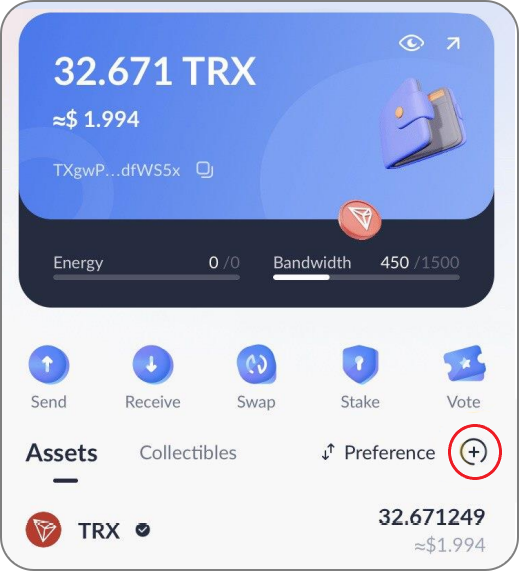
Please note that you may not see it on your TronLink wallet homepage after the transaction has been
conducted. This does not mean that the transaction was unsuccessful. To see the asset on the homepage,
click on the ‘+’ icon on the middle right side of the TronLink extension, search the asset’s name or contact
address, and select the ‘+’ icon in front of it the asset. Now you can see the asset on your wallet’s
homepage.
Categories :
Tags :

